
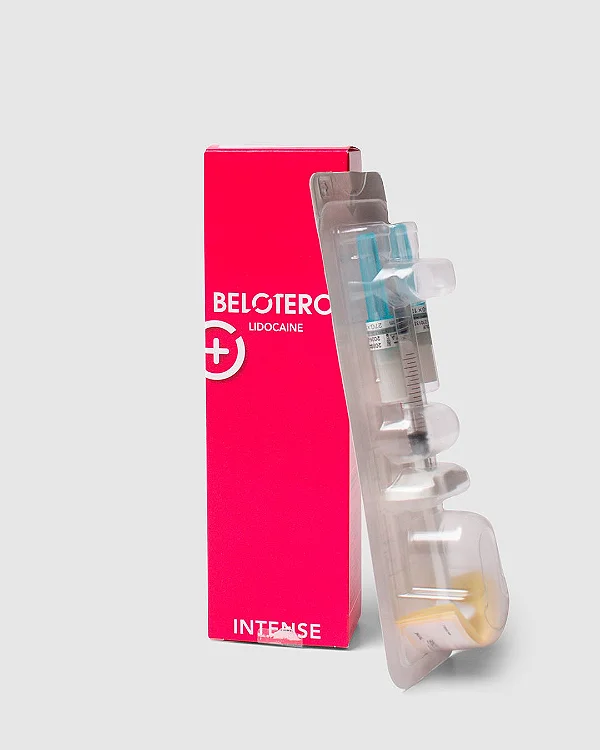
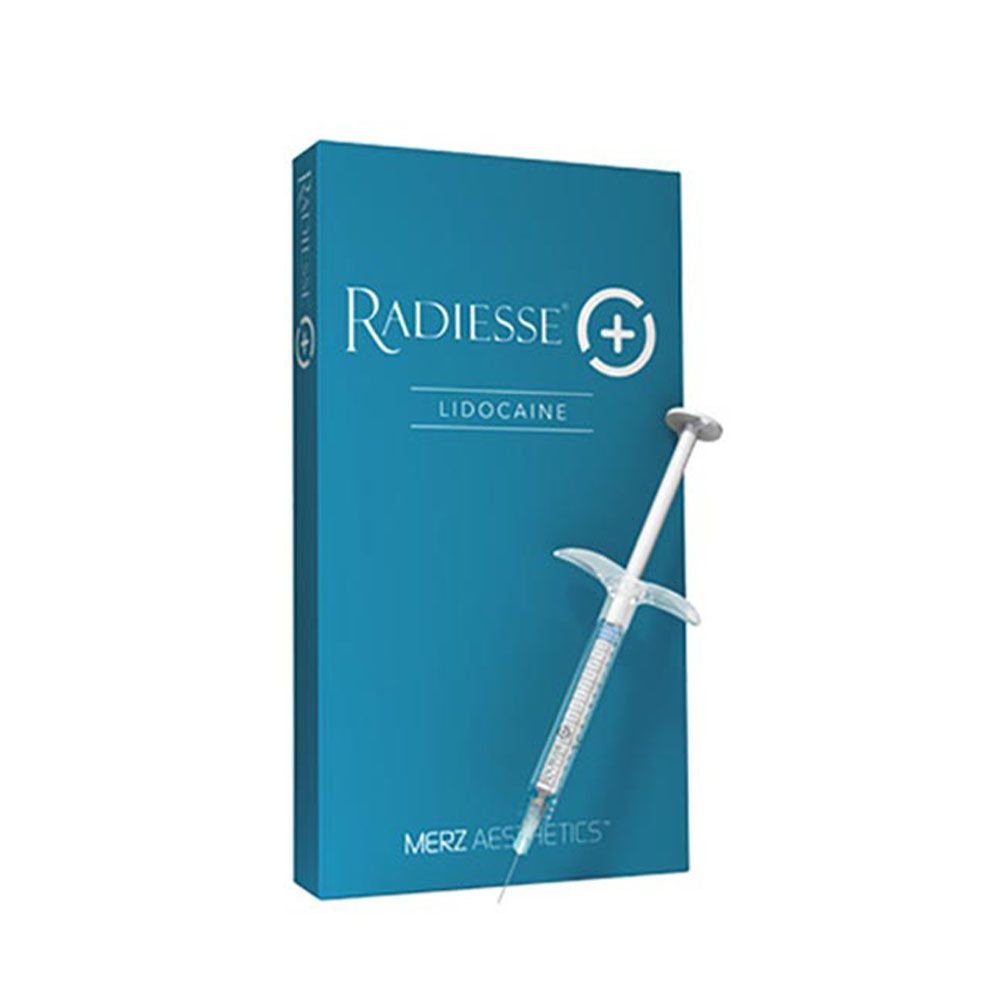
Description
This product contains no latex in detectable amounts. Do not use if the package is damaged. Sterile, apyrogenic, semisolid, cohesive implant. The main component is synthetic calcium hydroxyapatite suspended in a carrier gel consisting mainly of water (sterile water USP for injectable preparations), glycerin (USP),sodium carboxymethyl cellulose (USP) and 0.3 percent lidocaine hydrochloride. The gel dissolves in vivo and is replaced with soft tissue growth, while the calcium hydroxyapatite remains at the injection site. Lidocaine provides a short-lasting local anesthetic effect. The result is long-term but not permanent restoration and augmentation. Injectable implant (1.5 and 0.8 cc) consists of calcium hydroxyapatite particles 25-45 microns in size and should be injected with a 25-gauge (outer diameter) to 27-gauge (inner diameter) needle with standard Luer fitting.
Directions
Indicated for plastic/reconstructive surgeries, such as soft tissue augmentation of the deep dermis and subcutaneous tissue of the face, as well as corrective and restorative surgeries following facial volume reduction.
Instructions for use.
GENERALS
The following is required for the percutaneous injection procedure:
– One syringe of Radiesse (+) with lidocaine injectable implant, 0.8 or 1.5 cc.
– One or more appropriately sized needles with Luer lock fitting. We recommend the use of 25-gauge (outer diameter) to 27-gauge (inner diameter) or larger needles with standard Luer fitting. The use of needles smaller than 27 gauge (inner diameter) may increase the risk of needle obstruction.
1. Prepare the patient for percutaneous injection following standard methods. The treatment injection site should be marked with a surgical marker and prepared with a suitable antiseptic.
2. Prepare syringes and needles before percutaneous injection. A new needle can be used for each syringe, or the same needle can be attached to each new syringe to treat the same patient.
3. Remove the aluminum bag from the primary package. If necessary, the pouch can be opened and the syringe placed on a sterile area. Normally, a small amount of moisture is formed inside the aluminum bag from sterilization: this does not indicate that the product is defective.
4. Break or turn the needle packet open to reveal its base. When using needles other than those provided in this package, follow the instructions provided with the needle.
5. Before attaching the needle, remove the Luer syringe cap from the distal tip.
The syringe can then be inserted by twisting it over the Luer lock fitting on the needle, taking care not to contaminate the needle. Throw away the needle package.
The needle should be squeezed tightly on the syringe and prepared with Radiesse (+) with lidocaine injectable implant. If excess implant is found on the surface of the Luer lock fittings, it will need to be removed with sterile gauze.
Slowly push the plunger until the implant material is extruded from the end of the needle. If leakage is noted in the Luer fitting, it may be necessary to tighten or remove the needle and clean the surfaces of the fitting or, in extreme cases, replace both the syringe and the needle.
6. Locate the initial site for the plant.
Injection may be difficult or impossible on scar or cartilage tissue.
Avoid, if possible, passing the needle through these types of tissue.
7. Do not overcorrect the injection site.
Use a correction factor of 1:1.
Shape the injected implant or massage it occasionally during injection to ensure uniformity of contours.
8. If the syringe plunger offers significant resistance, move the needle slightly to facilitate extrusion of the material.
If much resistance is still encountered, it may be necessary to pull the needle out of the site entirely and try again in another location.
If resistance persists, it may be necessary to try a different needle. If still unsuccessful, replace the syringe and needle.
9. Insert the needle with the blunt end down at an angle of about 30° from the skin by advancing it hypodermically to the starting position.
Carefully push the plunger of the syringe to begin injection and slowly inject the implant material by retracting the needle, placing a strip of material at the desired location.
Continue adding strips of material until the desired level of correction is achieved.
The implanted strip of material should be completely surrounded by soft tissue without leaving globular deposits.
The treated area can be massaged, if necessary, to promote even distribution of the implant material.
Additional information
| brand | Motu |
|---|---|
| form | Mask |
| milliliters | 25 |


enovathemes –
Best product on this shop!